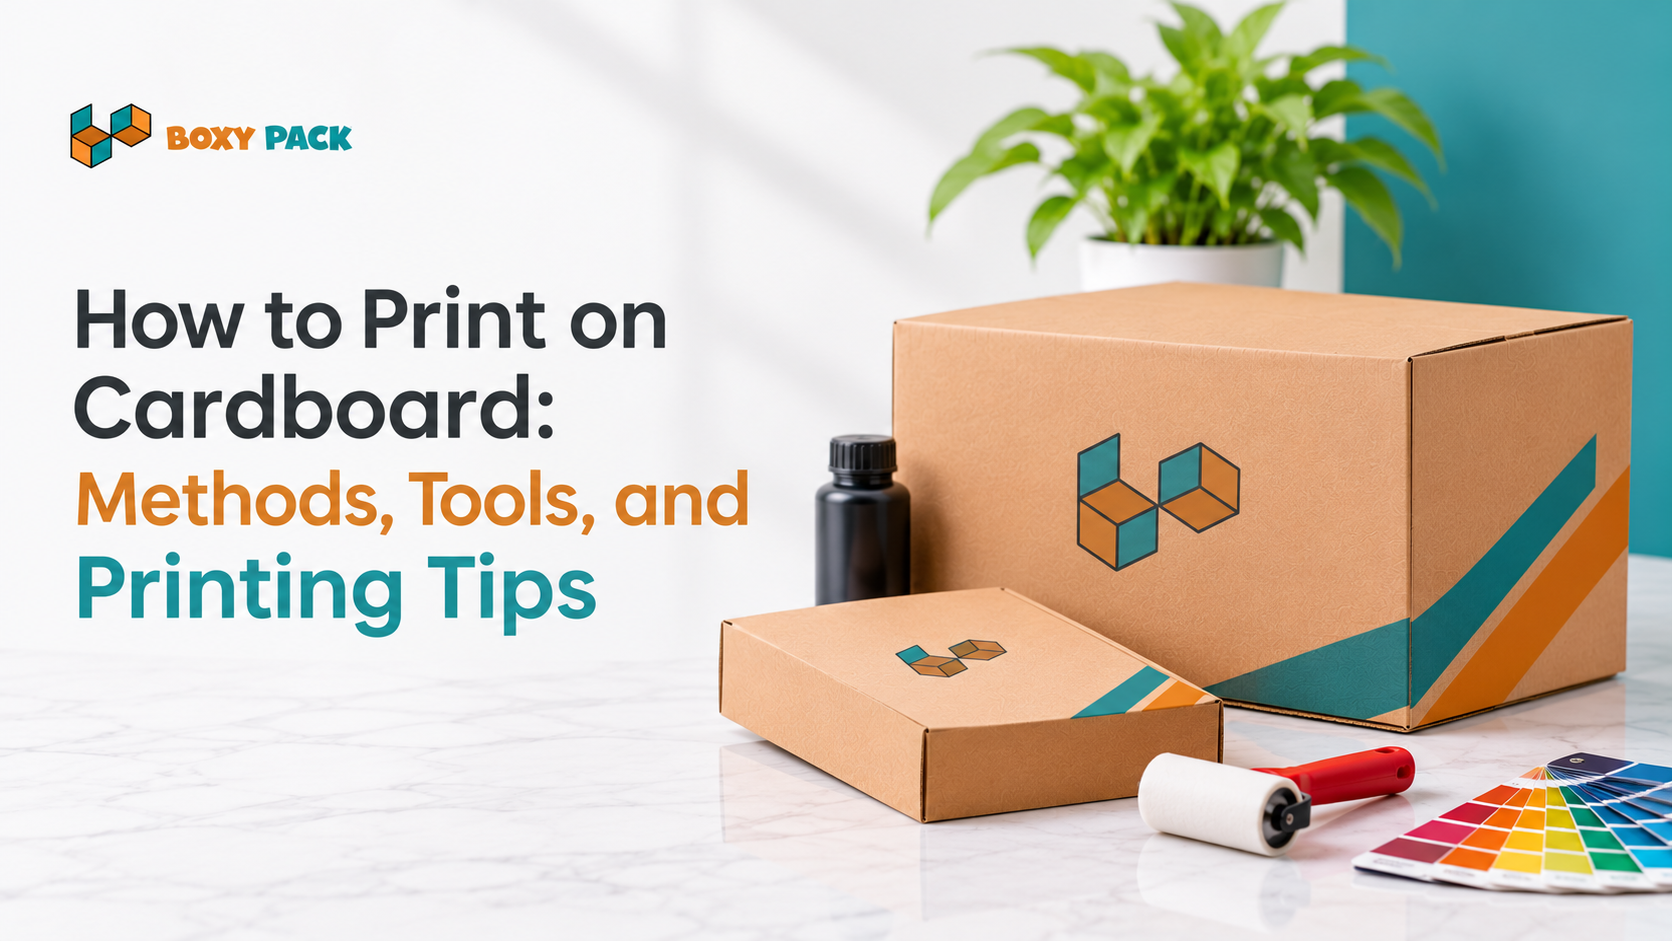
A logo can look sharp on a monitor and still print faded, uneven, or smudged on a cardboard box. When people ask how to print on cardboard, the cause of a poor result is usually the material rather than the artwork. Cardboard is more porous, textured, and layered than ordinary paper, and corrugated board adds flutes that can leave the surface uneven under a printhead, plate, or screen.
The best method depends on the surface, the artwork, the quantity, the budget, and the print quality you need. This guide walks through home printing and DIY options, then moves to the flexographic, offset, and digital systems used in commercial packaging. It also covers inks, preparation, a test-first workflow, and fixes for the problems that most often lead to reprints.
Choose the Cardboard Surface Before You Print
Identify the material before you pick a printer or ink. A setup that works on smooth, thin paperboard can fail on corrugated board, and the reverse is also true. Paperboard is relatively smooth and light, chipboard is dense and rigid, and coated carton board has a treated surface that changes how ink sits. Kraft board is the brown, fibrous material used for many brown kraft boxes, and its uncoated surface absorbs ink differently from a smooth coated carton.
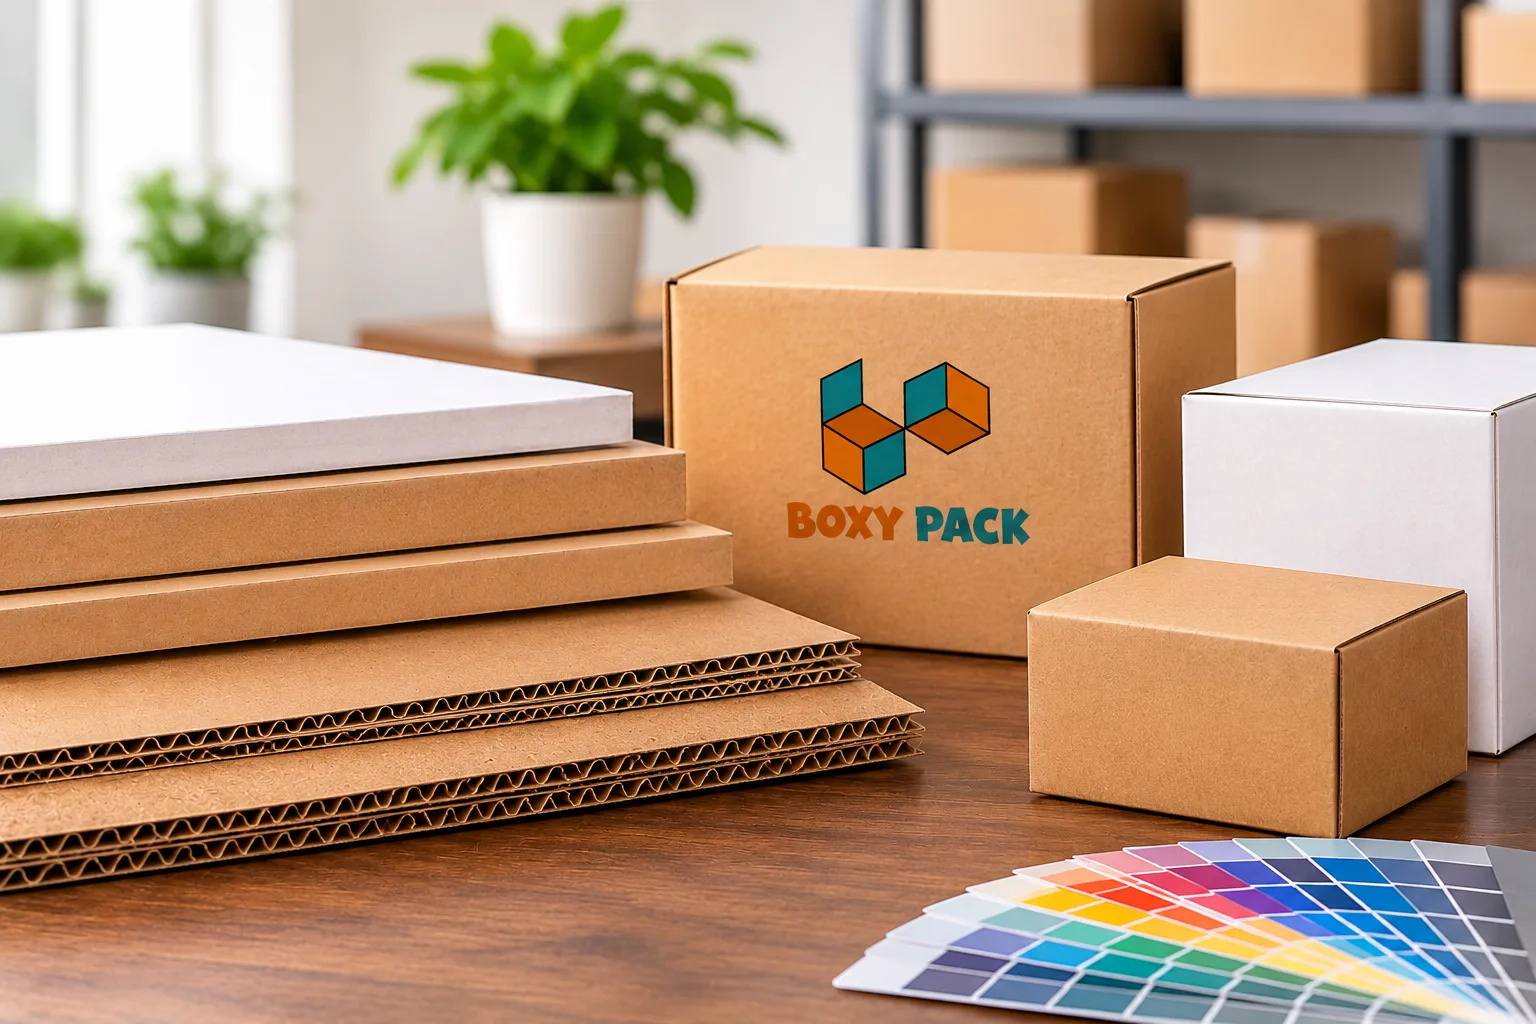
Thickness, texture, color, coatings, and flute structure all affect the result. A brown surface mutes light inks, a coating can block absorption, and a fluted inner layer can flex under pressure. The format matters too: a flat sheet feeds and aligns far more easily than a folded shipping box, which has edges, flaps, and seams in the way.
Cardboard type | Surface characteristics | Suitable printing options | Important consideration |
Paperboard | Relatively smooth and lightweight | Digital, offset, screen | Check printer media limits |
Kraft board | Brown, fibrous, often uncoated | Flexographic, screen, compatible digital | Colors may appear less vibrant |
Chipboard | Dense and relatively rigid | Screen, suitable flatbed digital | Check thickness and surface finish |
Corrugated board | Fluted inner layer with outer liners | Flexographic, digital, preprinted liner | Uneven support can affect print consistency |
Coated carton board | Smoother treated surface | Offset, digital, flexographic | Confirm ink compatibility and adhesion |
These are general tendencies, not equipment specifications. Always check the actual substrate against the printer or press manufacturer's limits.
Prepare Cardboard for Clean, Even Print Results
Treat preparation as a quality-control stage. Even a good printer produces poor results when the cardboard is dusty, bent, damp, or uneven, and a few minutes of cardboard surface preparation can save a whole batch.
Inspect the board for dust, moisture, and damage
Loose fibers, dust, and fingerprints interfere with ink transfer, while moisture can make ink spread and cause the board to warp. Damaged edges can catch in a feed path or under a squeegee. Start with clean, dry, undamaged material. Warped or crushed corrugated board is a particular problem because it makes uneven contact with the printhead or screen, leaving patchy coverage.
Flatten and support the printing surface
Print as a flat sheet whenever the design will be folded later, and reserve printing on assembled boxes for equipment built for it. Use a stable, level support surface, and add holding fixtures, a vacuum bed, or a jig so the board cannot shift. Movement during screen printing or direct-to-substrate printing is a common cause of doubled edges and misaligned artwork.
Check coatings and test ink adhesion
Coated, laminated, waxed, or otherwise treated surfaces can behave very differently from uncoated board. Before full production, print a small test and check drying, adhesion, rubbing, and color appearance. Good cardboard ink adhesion is something you confirm on your actual board, not something you assume from the ink label.
Choose a safe preparation method for the material
Primers and surface treatments should only be used when they are compatible with both the ink and the board. Avoid excess liquid or aggressive methods that can soften, warp, or damage the cardboard. A short checklist keeps the stage consistent:
Confirm the board is clean, dry, and flat.
Remove dust and loose fibers with a dry, lint-free cloth.
Identify any coating, lamination, or wax finish.
Apply a primer only if the ink maker approves it for your board.
Print a test and let it dry fully before judging it.
Build Artwork That Fits Every Box Panel Correctly
Plan the design before you print, especially when a flat sheet will later be folded into a carton. Start from the carton's dieline and measure the top, bottom, side panels, flaps, and fold lines. Different folding carton styles place panels, tuck flaps, and glue areas in different positions, so a layout that works for one style can land a logo on a crease in another.
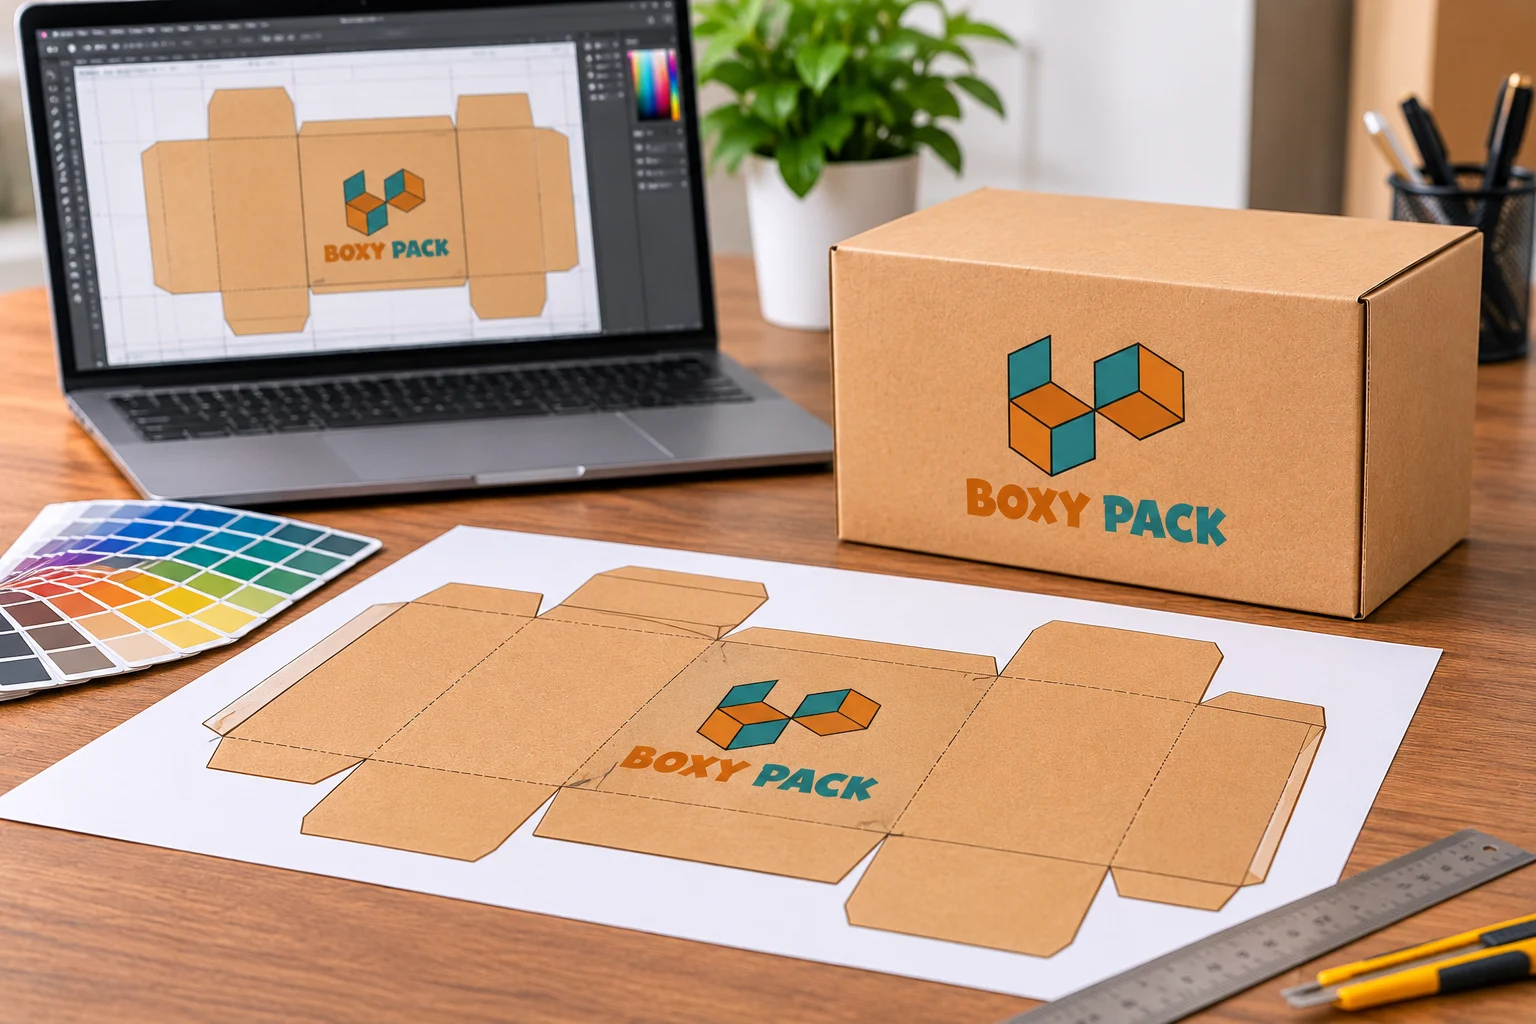
Set artwork dimensions to the panel, add bleed where ink must reach the edge, and keep important content inside safe margins. Different elements also need different levels of detail. Logos and barcodes need strong contrast and clean edges, product information needs legible text sizes, and decorative graphics can tolerate more softness. Use vector files for logos and high-resolution images for photographs or detailed graphics. For custom printed carton designs, keep artwork away from folds, seams, and glue areas.
A simple example shows the idea. If you want to learn how to print logos on cardboard, center the logo on the front panel, leave a safe margin on every side, and check that no fold line or glue flap crosses it. Then run through these artwork checks:
Panel dimensions match the measured board or dieline.
Bleed and safe margins are set.
Text, logos, and barcodes stay clear of folds and seams.
Logos are vector files, and photos are high resolution.
Contrast is strong enough for the board color.
Compare the Main Methods for Printing on Cardboard
The main printing techniques for cardboard solve different production problems, so it helps to see them side by side before looking at each process. One key distinction is direct printing versus pre-printing. Direct printing applies ink to a finished board or carton. Pre-printing prints a liner or paper layer first and then laminates or applies it to the corrugated board. Packaging Corporation of America describes corrugated graphics as printed either after board formation or beforehand and then applied or laminated. Order size, image complexity, print quality, setup cost, and turnaround time all shift the choice.
Printing method | Best suited to | Main strengths | Main limitations |
Flexographic | Large packaging runs | Fast production and efficient repeat printing | Setup and plate costs; detail limitations vary |
Offset/litho-lamination | Detailed carton graphics | Fine detail and strong color reproduction | More setup and additional production steps |
Digital | Short runs and changing designs | No printing plates; flexible artwork changes | Equipment and substrate compatibility vary |
Screen printing | Bold graphics and DIY work | Strong solid-color coverage and simple artwork | Less convenient for highly detailed designs |
UV digital | Specialized direct printing | Rapid curing and broad substrate flexibility | Requires compatible equipment and adhesion testing |
Treat the table as a selection guide, not a guarantee that every machine in a category can print every cardboard type. Direct-to-substrate printing also differs from preprinted liners and labels, because those approaches move the print step away from the finished carton.
Use Flexography for Consistent High-Volume Box Runs
Flexography is widely used for corrugated packaging and is often the first method considered for repeat production jobs. Because many readers have never handled a printing plate, it helps to look at how the process works in practical terms.
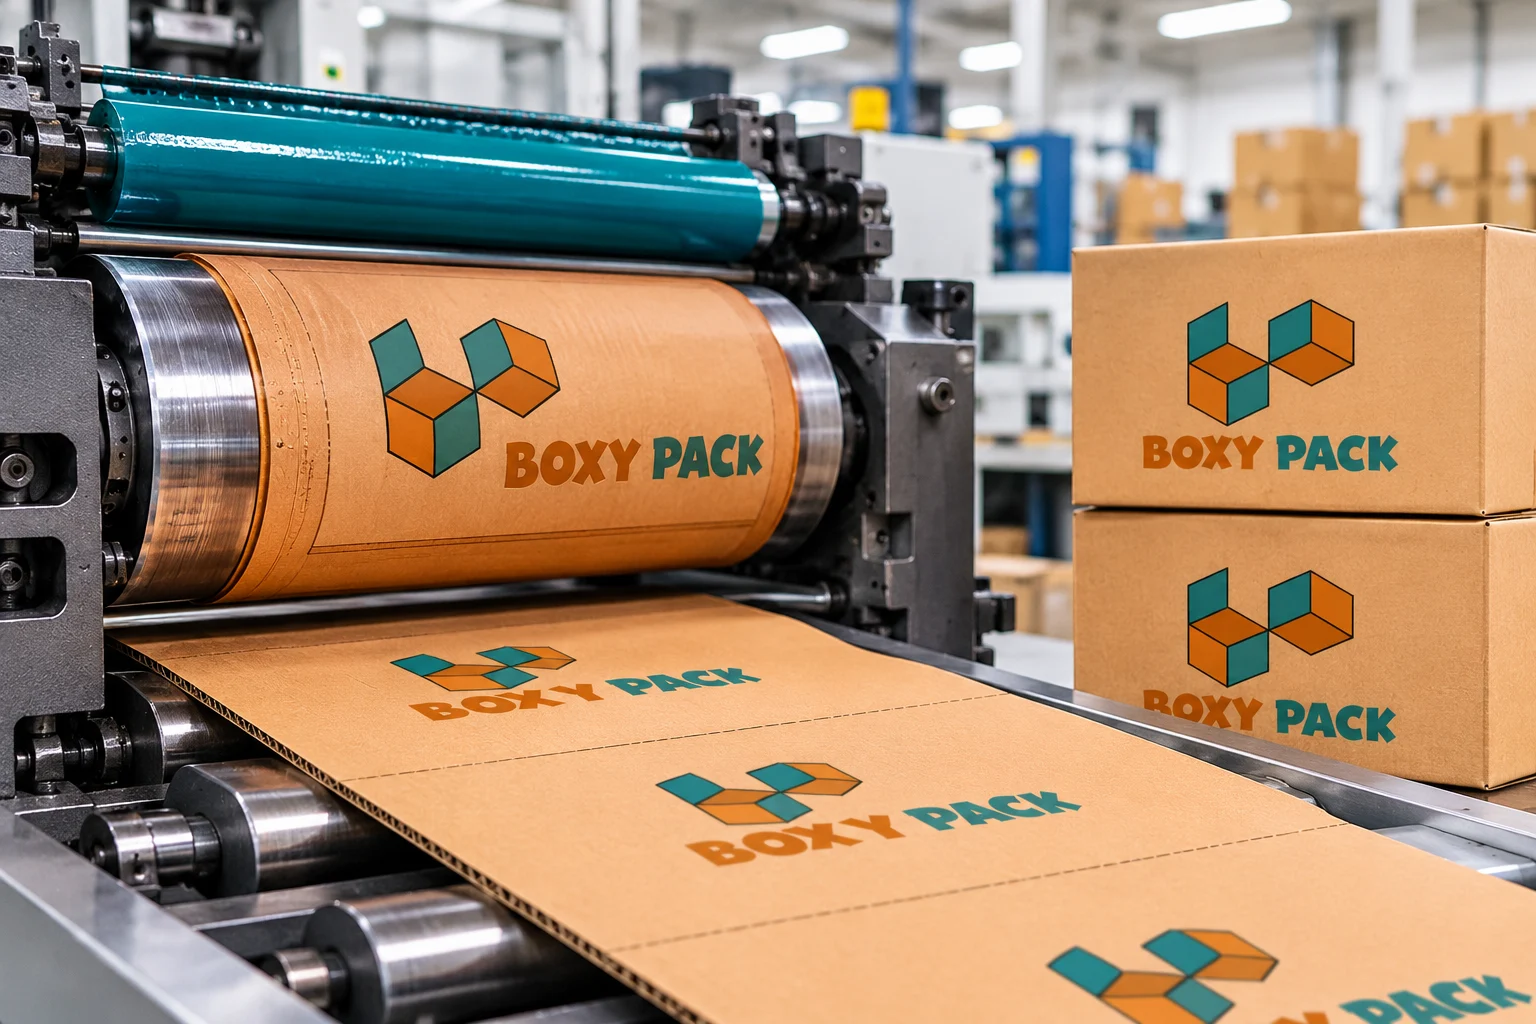
Understand how the flexographic printing process works
In the flexographic printing process, a flexible plate carries a raised version of the image. The raised areas pick up ink and press it onto the cardboard as the board passes through the press. The main parts are the plate, the ink system, the impression roller that sets contact pressure, and the feed that moves each board through in position. Because ink and pressure can be adjusted for rough, absorbent surfaces, the process suits direct printing on corrugated board.
Identify where flexographic printing performs best
Flexography fits large quantities of repeated designs, such as custom shipping boxes that carry the same logo and handling marks across thousands of units. It handles simple or moderately detailed artwork well, and its strengths are production speed and repeatability. Ink selection and pressure control matter on corrugated surfaces, since too much pressure can flatten the flutes and distort the print.
Understand the limitations before choosing flexography
Plates must be made before printing starts, which adds setup cost and preparation time, and registration needs careful control. Fine detail and complex imagery can be harder to reproduce, depending on the plate and press. Small batches or frequently changing designs are often better served by digital printing. In short, flexography rewards speed, repeatability, and low per-unit cost on large runs, while plate cost, registration demands, and detail limits are the trade-offs.
Choose Offset Printing for Detailed Packaging Artwork
Offset printing on packaging transfers an image from a plate to a rubber blanket and then onto the printing surface. This can be a suitable flat sheet printed directly, or a paper liner that is later laminated to corrugated board for cartons.
Its main advantage is visual quality. Offset handles fine details, photographs, gradients, and accurate brand colors well, which is why it is often chosen when presentation matters more than quick design changes. It is a common choice for premium retail packaging, where the box is part of the product experience. The trade-offs are longer setup and a better fit for larger quantities. Corrugated cartons also need an extra lamination or finishing step, because the printed paper liner is applied to the board afterward.
Use Digital Printing for Flexible, Short-Run Designs
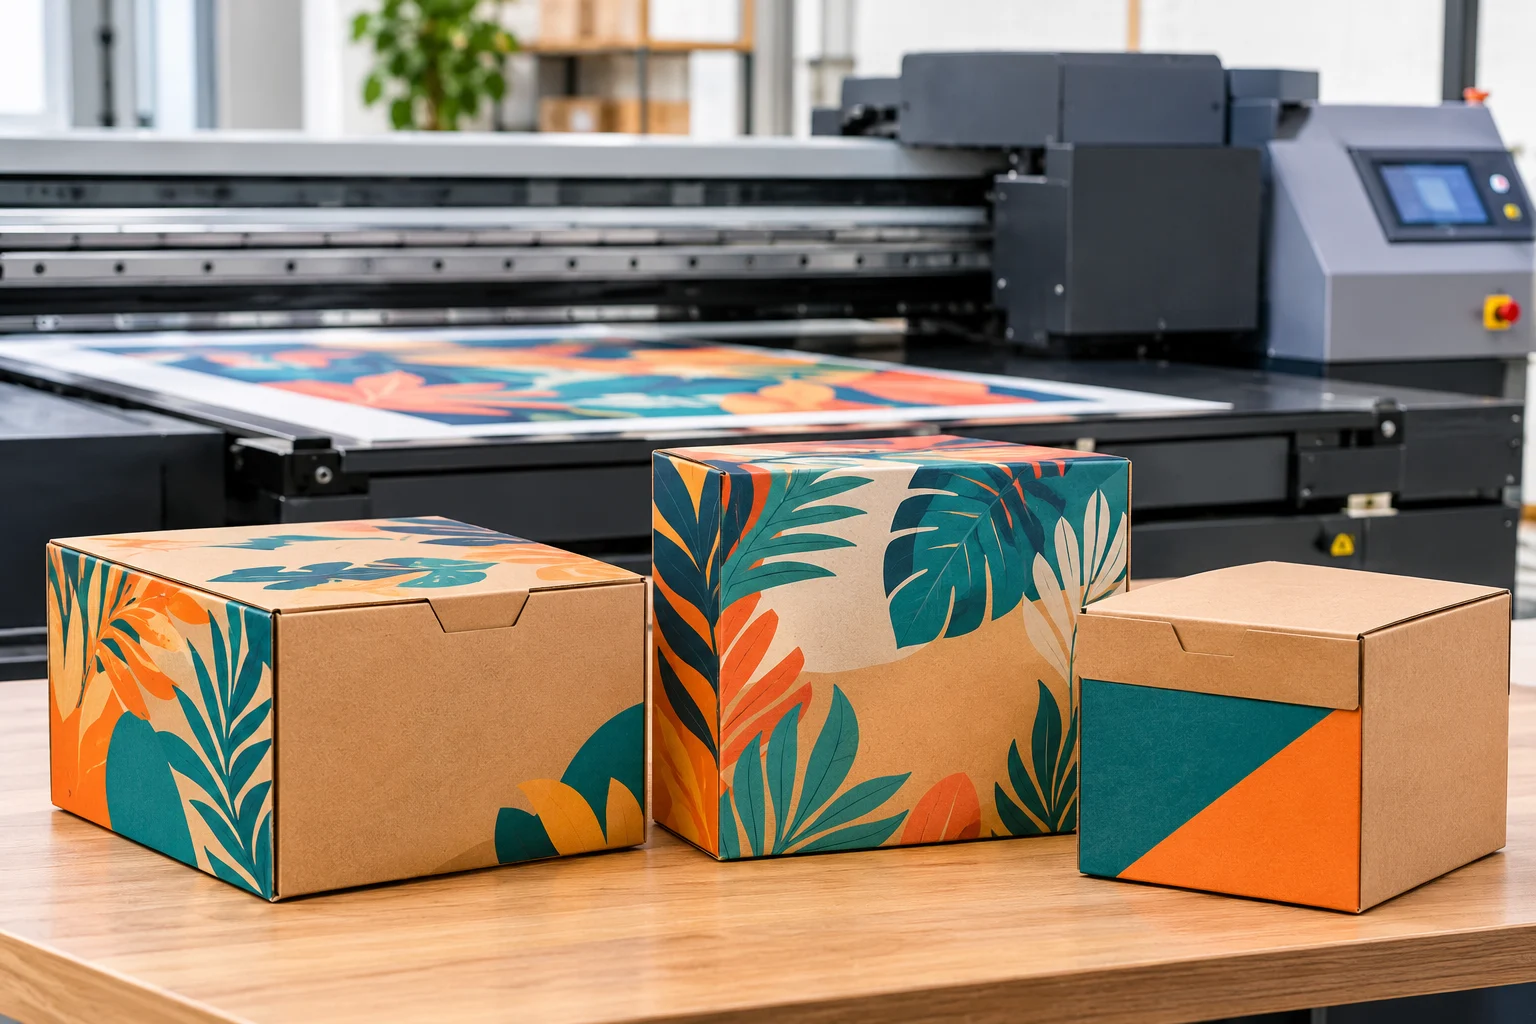
Digital printing on cardboard converts a digital file straight into ink or toner without the printing plates used in flexography and offset. That makes it useful for prototypes, small orders, personalized packaging, and frequent artwork changes. It also supports variable data, such as changing product names, batch details, or designs between runs. The main condition is compatibility: the machine must accept the board's thickness, surface texture, and dimensions.
Understand direct-to-substrate digital printing
In direct to substrate printing, compatible industrial inkjet equipment deposits ink directly onto a board or carton surface. This is very different from an ordinary desktop inkjet printer, which has a narrow feed path and limited media range. Industrial systems need correct board handling, enough printhead clearance, and controlled material movement so the board does not drift under the heads.
Consider digital printing for prototypes and small batches
Without plates, short runs and artwork changes become practical. Typical examples include seasonal packaging, product launches, limited-edition boxes, test designs, and subscription box packaging that changes theme from one shipment to the next. If the same design will be printed again later, keep the artwork file, ink settings, and a physical sample on record so you can compare color and consistency between runs.
Know when digital printing may not be the best fit
Digital printing can be less attractive for very large runs, heavily textured board, or materials outside the machine's specifications. Compare cost per unit and production speed instead of assuming digital is always cheaper. For example, a brand ordering 300 boxes with three seasonal designs may find digital ideal, while the same brand ordering 50,000 identical cartons may find flexography more economical.
Try Screen Printing for Bold DIY Cardboard Graphics
Screen printing on cardboard is an accessible option for printing logos, simple artwork, or bold graphics on a manageable number of boxes, and it is one of the most popular DIY cardboard printing techniques. Unlike digital printing, which deposits ink from a printhead, screen printing pushes ink through the open areas of a prepared mesh.
Gather the basic screen-printing tools
You need a screen made of a frame and mesh, emulsion to create the stencil, a squeegee to push ink, suitable ink, and a way to hold the board in position. The mesh sets how much ink passes through, and the emulsion blocks the areas that should stay clear. A basic setup works for small jobs, while a printing press helps keep positioning repeatable. Follow the ink and emulsion manufacturer's instructions throughout.
Prepare the screen and position the cardboard
At a high level, you coat the screen with emulsion, expose the artwork onto it with light, and wash out the unexposed areas to leave an open stencil. Align the stencil with the cardboard panel, hold the board securely, and use registration marks so each print lands in the same place. Keep the print area clear of folds and seams.
Apply ink with an even, controlled squeegee pass
Pressure, angle, speed, and consistent contact all affect the result, so aim for one steady pull. Arrange the board so the squeegee does not repeatedly catch on box creases. Do not leave the screen unattended if the ink can dry in the mesh, because dried ink can clog fine areas.
Cure the print without damaging the cardboard
Ink can air dry or be cured with equipment such as a heat gun, flash dryer, or conveyor dryer. Use these only at the temperature and time the ink manufacturer recommends. Excessive heat can scorch, curl, or ignite cardboard, so never leave heated equipment unattended near boards. No single curing setting suits every ink or board, which is why the equipment list should include a thermometer, a ventilated drying area, and a fire-safe workspace.
Select Printers and Equipment That Match the Job
The best printer for cardboard printing depends on what you are printing and how much. Home and office printers are very different from commercial carton equipment. Board thickness, maximum media dimensions, surface texture, required resolution, print area, and production volume all affect the choice.
Ordinary inkjet and laser printers can handle suitable flat, thin stock. Commercial needs call for industrial thermal inkjet, high-resolution case coders, digital flatbed systems, or print-and-apply equipment. Note that a label printer does not always print directly onto cardboard, because some systems print a label first and then apply it to the carton.
Equipment | Typical use | What to check before buying or using |
Home inkjet printer | Thin, flat cardboard or cardstock within rated limits | Media thickness, feed path, ink compatibility |
Laser printer | Suitable flat stock and sharp text | Supported media weight, thickness, heat tolerance |
Screen-printing setup | DIY logos and bold graphics | Screen size, mesh, ink, alignment |
Industrial thermal inkjet | Dates, codes, text, and selected graphics | Print height, resolution, ink suitability, line speed |
High-resolution case coder | Larger carton messages and codes | Print area, contrast, board surface, speed |
Digital flatbed printer | Direct graphics on compatible flat substrates | Bed size, substrate height, ink adhesion |
Print-and-apply system | Printed shipping or product labels | Label size, application accuracy, line speed |
Check whether an ordinary inkjet printer can handle the board
Some desktop printers can handle thin cardboard or cardstock, but compatibility is model-specific. Check the manufacturer's maximum media thickness and supported media types before loading the board. Canon's manuals for certain models, for example, describe feeding thick media through a straight or rear manual path. That can help with supported thick media, but it does not override the printer's rated limits. Forcing unsupported board through the rollers can damage the printer.
Choose industrial equipment for direct carton printing
Thermal inkjet printers and high-resolution case coders suit product details, barcodes, lot codes, and logos printed directly on cartons. Print height, resolution, speed, ink type, and distance from the board all influence which cardboard printing equipment fits. Laser marking is a separate option: it marks the material surface and is not an ink-printing method.
Match equipment to production volume and print area
A one-off DIY project, a small business order, and a continuous packaging line need very different tools. Weigh setup cost, consumables, maintenance, labor, and rejected prints together rather than comparing machine prices alone.
Match the Ink to Cardboard and the Printing Method
Ink selection affects appearance, drying, adhesion, smudging, and resistance to handling. The main ink types for cardboard printing are water-based inks, oil-based inks, UV-curable inks, and toner, each tied to different equipment and processes. Not every ink works in every printer or on every cardboard surface.
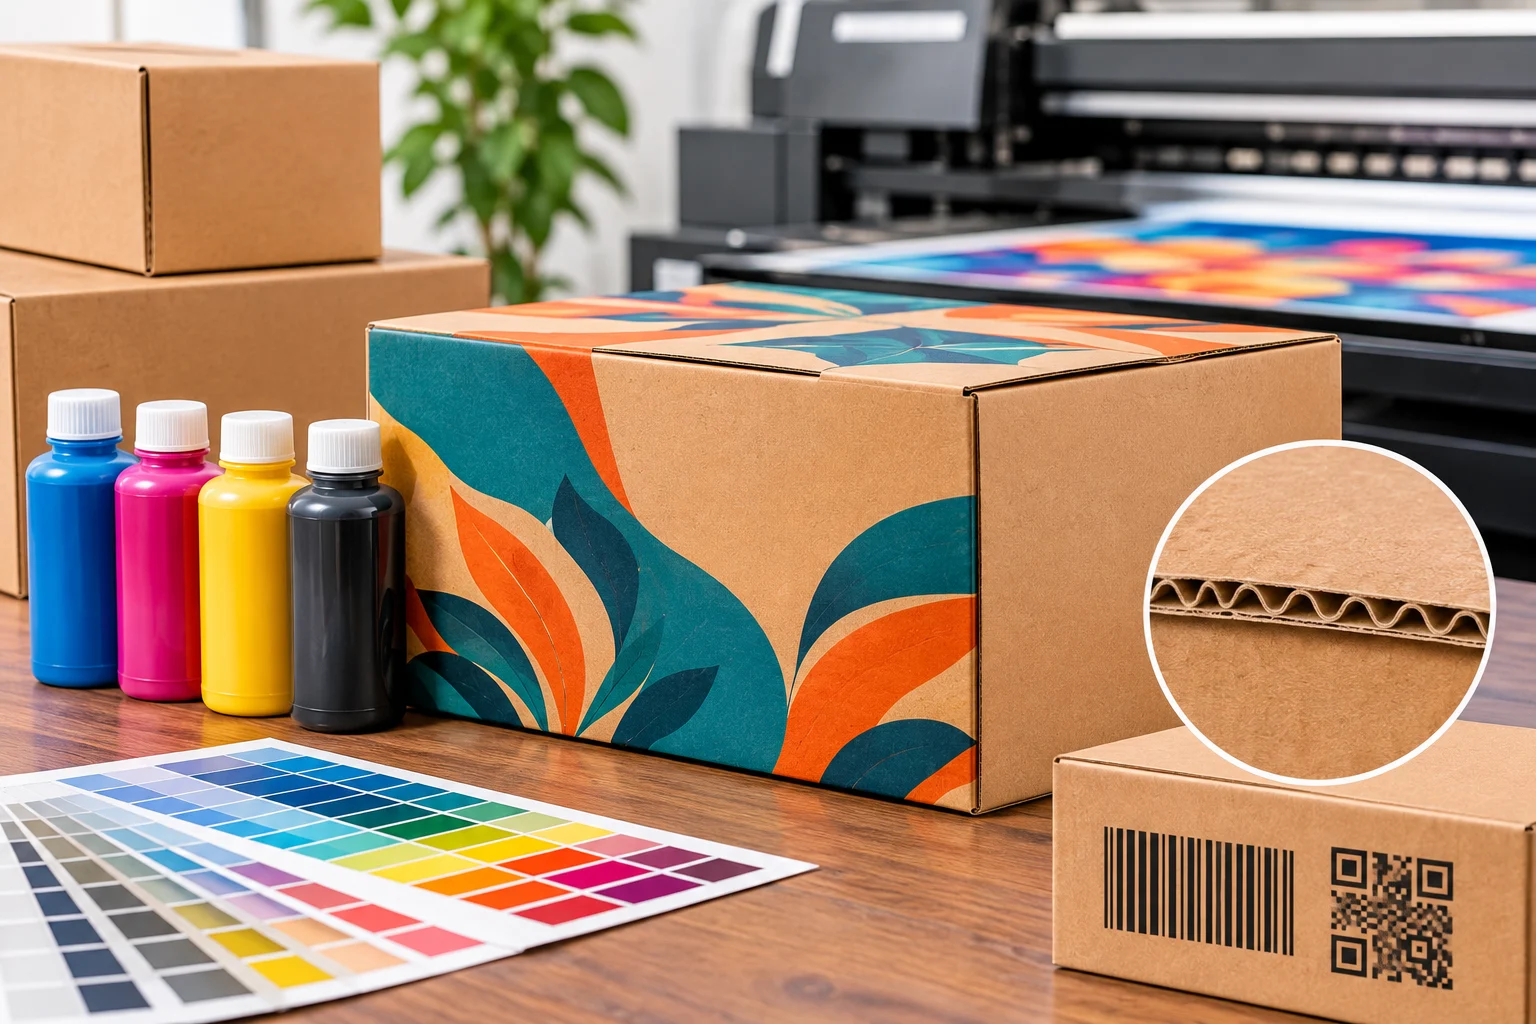
Understand water-based ink on porous cardboard
Water-based ink is absorbed by porous board and is used in some screen-printing workflows. Drying time, absorption, and color appearance all depend on the formulation and the board, and the ink can dry in an unattended screen. Suitability always depends on the specific ink and cardboard.
Consider oil-based inks for industrial carton coding
Some high-resolution case coders use oil-based inks to produce visible codes and text on packaging. Check drying, adhesion, and rub resistance on the actual carton before committing to a run.
Use UV-curable ink only with compatible equipment
UV printing on cardboard uses ultraviolet energy to cure specially formulated ink, rather than relying only on evaporation or absorption. Potential advantages include rapid curing and use on selected coated or rigid substrates. Surface cleanliness, material composition, and adhesion testing still matter, and no UV printer or ink is automatically suitable for all cardboard.
Understand the role of laser marking and toner
Laser marking alters or marks a surface and does not deposit conventional ink. Toner-based laser printing is also different from inkjet and industrial ink systems, since toner is fused to the surface with heat. Check the equipment instructions and substrate compatibility before use. Before choosing any ink, confirm that it suits the printer, the board, the drying method, and the handling the finished carton will face.
Print on Corrugated Board Without Losing Clarity
How to print on corrugated cardboard is a special case. The outer liner, inner fluting, surface irregularities, board movement, and uneven pressure can all reduce clarity. Corrugated board printing options include direct flexographic printing, direct digital printing, and preprinted liners or labels. The right choice depends on print detail, quantity, board construction, and packaging performance.
Choose between direct printing and preprinted liners
Direct printing applies ink to the outer liner after the board is formed, which keeps production simple. Printing on paper before applying or laminating it to the board can give a smoother, more polished finish, at the cost of extra steps. PCA's packaging overview lists direct flexography, direct digital printing, litho labeling, litho lamination, and flexo preprint as separate routes, which is a useful starting point for comparing them.
Protect small text, barcodes, and fine artwork
Small text and machine-readable codes need strong contrast and clear print edges. A brown kraft background, ink absorption, and uneven application can blur both. Test-scan barcodes and QR codes on the actual finished carton before a production run, and keep fine details larger and bolder than they would be on smooth paper.
Follow a Reliable Workflow From Test Print to Finish
The steps below pull the earlier advice into one process for how to print designs on cardboard, from material selection through storage.
Step 1: Measure the board and prepare the artwork file
Confirm the actual dimensions of the sheet or box panels. Set the artwork size, orientation, safe margins, bleed, and fold guides, then confirm that the chosen printer or press can accommodate the print area.
Step 2: Run a sample using the intended board and ink
Print on the same cardboard type you plan to use for the final job. Check color, sharpness, registration, coverage, drying, and adhesion. Adjust printer settings or the process only within the equipment and ink recommendations.
Step 3: Print the production batch with consistent alignment
Keep feeding, registration, pressure, and spacing consistent. Check samples periodically rather than assuming the first print guarantees every later one. For example, inspect the first, middle, and final cartons in a batch.
Step 4: Dry, inspect, and handle finished cartons carefully
Confirm the ink is dry and cured according to the manufacturer's instructions. Check for smudging, rubbing, fading, panel alignment, and readable codes, and let finished cartons cool or settle before stacking if the process requires it. A final quality check should confirm that drying is complete, adhesion holds, colors match the sample, alignment is correct, and codes scan.
Fix Common Cardboard Printing Problems Before Reprints
Wasted material and repeat jobs usually trace back to a handful of causes. Identify the likely cause before changing the ink, equipment, or artwork, since changing everything at once hides what actually fixed the problem.
Stop ink from smudging or transferring
Excess ink, insufficient drying, unsuitable ink, and stacking too soon all cause smears. Check ink compatibility and follow the correct drying or curing instructions. A print that is dry to the touch may still need more curing or handling time, depending on the ink.
Improve faded colors and weak print contrast
Brown board, absorbency, surface texture, and ink choice all change how color looks. Test a suitable ink, adjust the artwork for stronger contrast, or consider a compatible white or coated print surface where appropriate.
Correct uneven prints and alignment errors
Inconsistent pressure, poor board support, screen movement, incorrect registration, and creases crossing the print path all produce uneven or misaligned results. Stabilize the substrate and check alignment before repeating the job.
Prevent jams, warping, and damaged cardboard
Excessive thickness, moisture, heat, and unsuitable feed paths can damage the board or the equipment. Use only board within the printer's specifications and test one sheet before a larger batch.
Final Thoughts on Getting Better Cardboard Print Results
The right printing method depends on the cardboard, the artwork, the quantity, the equipment, and the durability the finished box needs. Flexography favors large repeat runs, offset favors detailed artwork, digital favors short runs and changes, and screen printing favors bold DIY graphics. Boxy Pack helps businesses explore suitable packaging solutions based on their printing and design requirements.
Whichever route you choose, preparation, a compatible ink or toner system, and a test print are what make results dependable. Try your preferred method on a sample first, and consult a qualified packaging printer, such as the team at Boxy Pack, when the job is larger or more complex.
Frequently Asked Questions About Printing on Cardboard
This section answers practical questions about printer compatibility and printing methods. It also covers how to get clean results on different cardboard surfaces. Use the answers as a starting point and always confirm limits with your equipment maker.
Can a home printer handle cardboard sheets without damaging its feed rollers?
Only if the board is within the printer's rated media thickness and type. Check the manual, use thin cardstock where possible, and test one sheet first.
Does cardboard need a coating before printing a full-color design?
Not always. Coated board often gives brighter color, while uncoated kraft mutes it. A primer or coating should be used only when it is compatible with your ink and board.
How long should printed cardboard be left to dry before stacking?
It depends on the ink and method. Follow the ink manufacturer's drying or curing guidance, and remember that dry-to-touch is not always fully cured.
Can you print on both sides of a cardboard sheet?
Yes, if the equipment allows it and the first side is fully dry. Check registration between sides and test for rub or transfer.
What file format gives the cleanest results for a cardboard logo?
A vector file, such as SVG, EPS, or a vector PDF, keeps edges clean at any size. Use high-resolution files for photographs.
Is it possible to print white graphics on brown kraft cardboard?
Yes, but it needs an opaque white ink or an added white layer on compatible equipment. Test it first, since the brown base can show through.
Ready to Get Started?
Discover our custom packaging solutions and bring your brand to life with premium boxes.