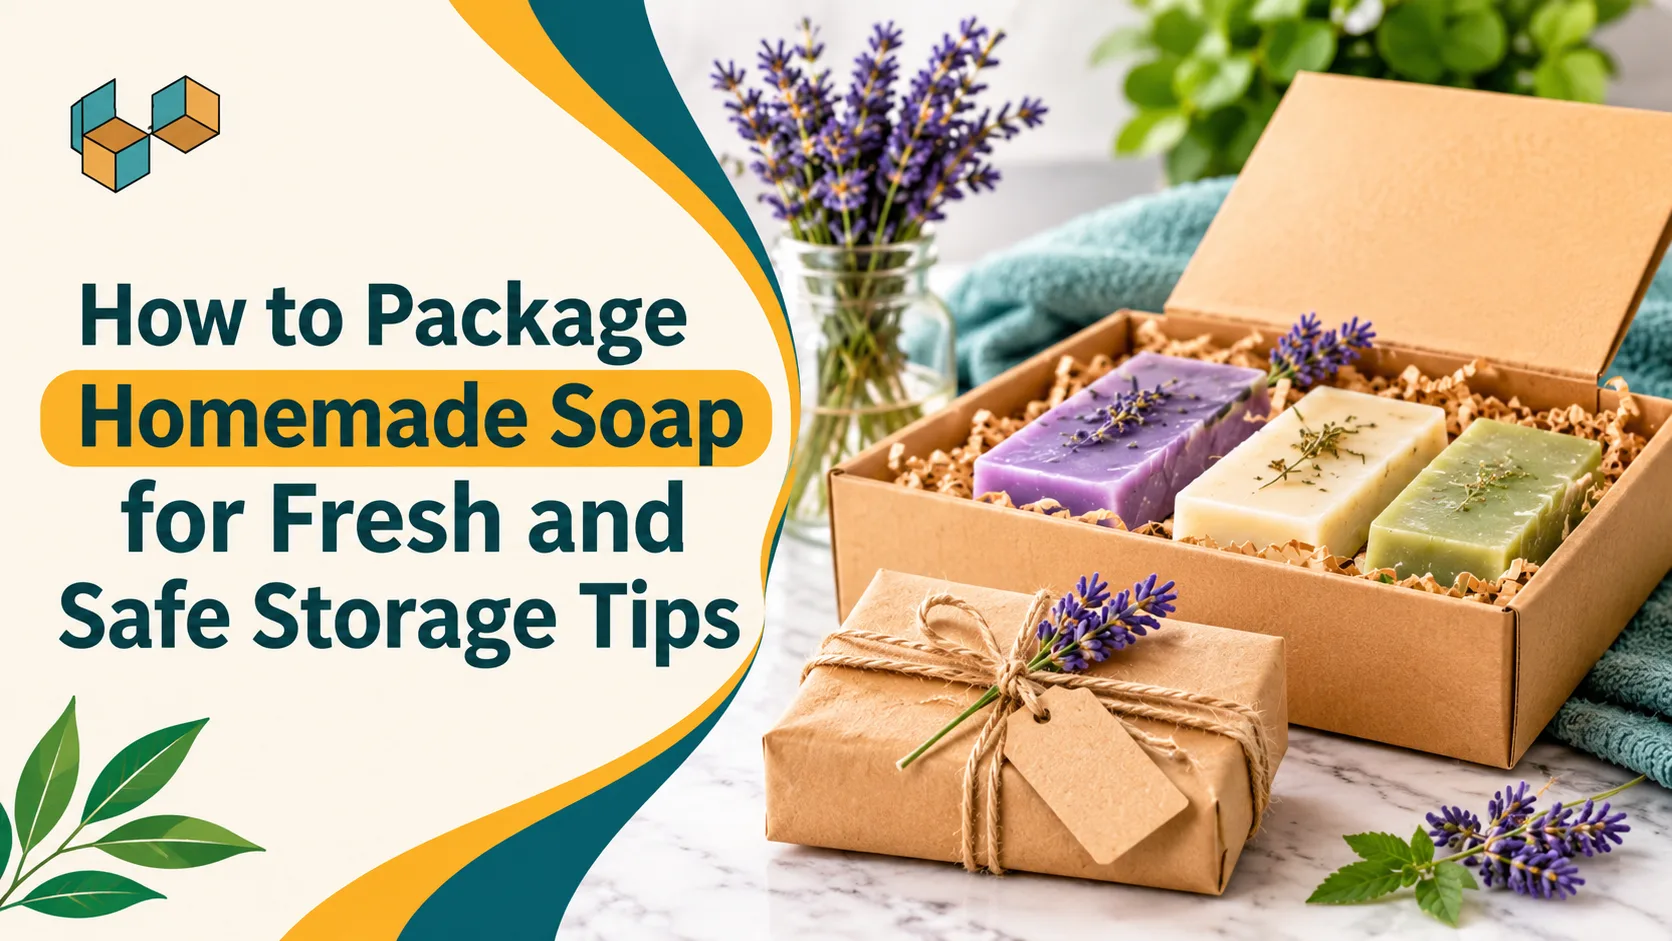
A beautiful batch of soap can lose its scent, collect dust, turn damp, or look careless in a matter of days when the wrong wrapper is used. Knowing how to package homemade soap protects the bar you worked hard to make and shapes the first impression a buyer or gift recipient has of it. Packaging affects storage life, handling, presentation, and the overall customer experience.
The right material depends on the soap's condition and its intended use. A fully cured cold-process bar has different needs from a glycerin-rich melt-and-pour bar, and a gift set has different needs from a shipped order. This guide covers preparing the soap, choosing and using materials, wrapping neatly, labeling, creating gifts, working with eco-friendly options, and storing finished bars.
Prepare Your Homemade Soap Before Choosing Packaging
Packaging decisions should begin with one question: is the soap ready to be wrapped? Cold-process, hot-process, and melt-and-pour soap each reach a wrappable state differently. Cold-process soap generally needs a curing period before final packaging, so wrapping it right after it hardens can trap moisture that still needs to leave the bar.
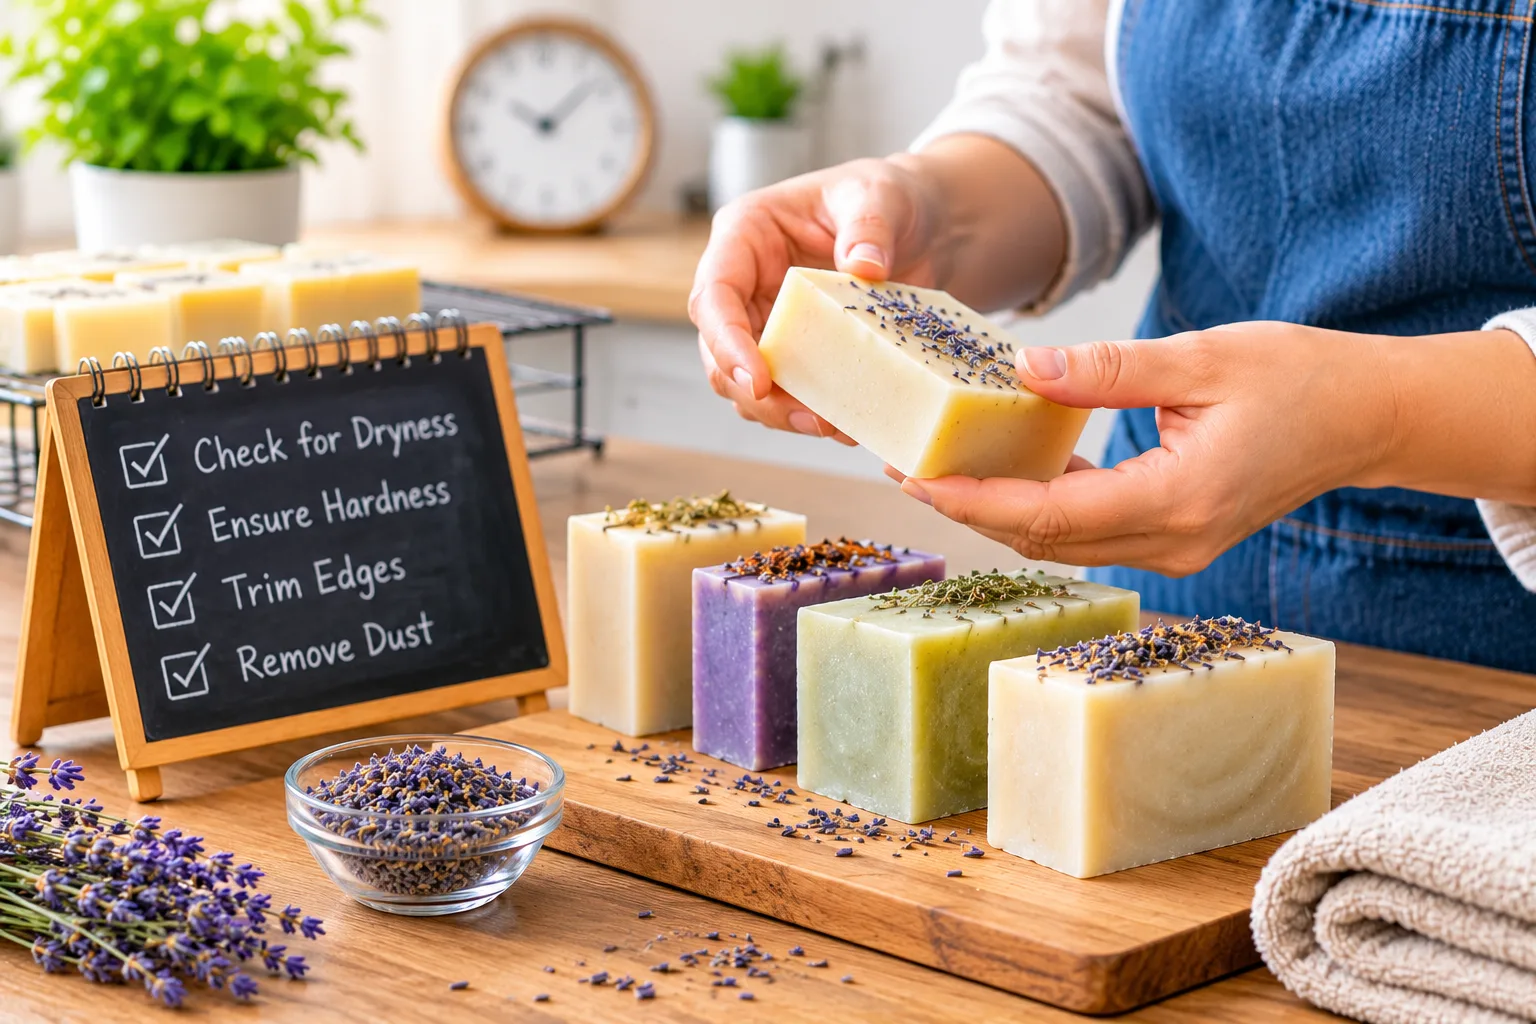
Hardness, surface condition, excess moisture, and fragrance retention all influence when and how a bar should be packaged. The sections below explain how to judge each of them.
Understand the Curing Period for Different Soap Types
Cold-process soap commonly cures for about 4 to 6 weeks, depending on the recipe and the conditions in your workspace. During that time, water evaporates and the bar becomes harder and longer lasting. Always follow the curing guidance that belongs to your own recipe.
Melt-and-pour and hot-process soaps have different preparation needs. Melt-and-pour is ready sooner but can attract moisture from the air, while hot-process soap is cooked before molding. Cooling and hardening should not be treated as the same thing as full curing.
Check Whether Your Soap Is Ready for Wrapping
Look closely at the surface and overall condition of each bar. Press gently to check for softness, and watch for visible sweating or damp patches. A fully cured bar is generally easier to wrap and store, and it is less likely to react badly to a closed wrapper.
If a bar still feels soft or looks damp, give it more time before wrapping. Following the curing guidance in your recipe is more reliable than guessing by feel alone.
Clean and Prepare Soap Bars Before Packaging
Brush off loose debris and inspect the edges of every bar. Trim rough corners and check for surface imperfections you may want to fix before packaging. Handle the soap with clean, dry hands so oils and moisture from your skin do not mark the surface.
Let the bars reach a suitably dry condition before wrapping. A bar that is clean, even, and dry will sit better inside any type of packaging.
Select the Right Materials for Handmade Soap Wrapping
Handmade soap can be wrapped in paper, kraft paper, glassine, cardboard, fabric, or transparent film. Each material differs in cost, appearance, breathability, durability, and environmental impact. The best packaging for homemade soap is the one that suits the specific bar, how it will be stored, and how it will be presented. Not every paper-based material is compostable, so material claims should always be checked rather than assumed.
Table: Handmade Soap Packaging Materials Comparison
Material | Main Benefit | Potential Limitation | Suitable Use |
Kraft paper | Natural appearance | Limited moisture barrier | Cured soap bars |
Glassine paper | Smooth, grease-resistant surface | Not fully waterproof | Individual wrapping |
Paperboard | Structure and branding space | Can absorb moisture | Soap boxes |
Fabric pouches | Reusable presentation | Limited moisture protection | Gifts and decorative packaging |
Shrink film | Close-fitting protection | Plastic-based material | Suitable fully cured bars |
Corrugated cardboard | Additional shipping protection | Bulkier construction | Outer shipping cartons |
Use the table as a starting point, then test your choice with your own soap. Soaps with a high oil content, for example, can mark some papers, and humid rooms can weaken others.
Choose Paper-Based Materials for Simple Soap Wrapping
Kraft paper, glassine, and tissue paper all work well for simple wrapping. Kraft has a rustic texture, glassine has a smooth, grease-resistant surface, and tissue paper is light and decorative. They differ in how well they resist oil and moisture.
Choose the paper according to the soap formula and the storage environment. A drier room allows more flexibility, while a humid space calls for a more resistant option.
Consider Cardboard Boxes for Added Product Protection
Paperboard boxes shield bars from dust, handling, and surface damage. Tuck-end boxes, sleeve boxes, and window-style packaging are common choices for soap. Makers who want a consistent, branded look often order custom soap boxes made to fit their bar size exactly.
Board thickness and construction both matter. A thicker, well-built box protects better, while a thin one may only help with dust and light handling.
Use Fabric and Reusable Materials for Decorative Packaging
Cotton, jute, and similar fabric pouches suit gifts and presentation. They can be reused, which adds to their appeal. Fabric is not necessarily a moisture barrier, so a separate suitable inner wrapper may still be needed to protect the bar.
Understand When Transparent Wrapping Is Appropriate
Suitable transparent films and shrink wrap show off the soap and protect its surface. Because these coverings do not breathe, check that the soap is fully ready before using them. Sealing a bar that still holds moisture can cause sweating inside the wrapper.
Use Kraft Paper to Wrap Handmade Soap Neatly
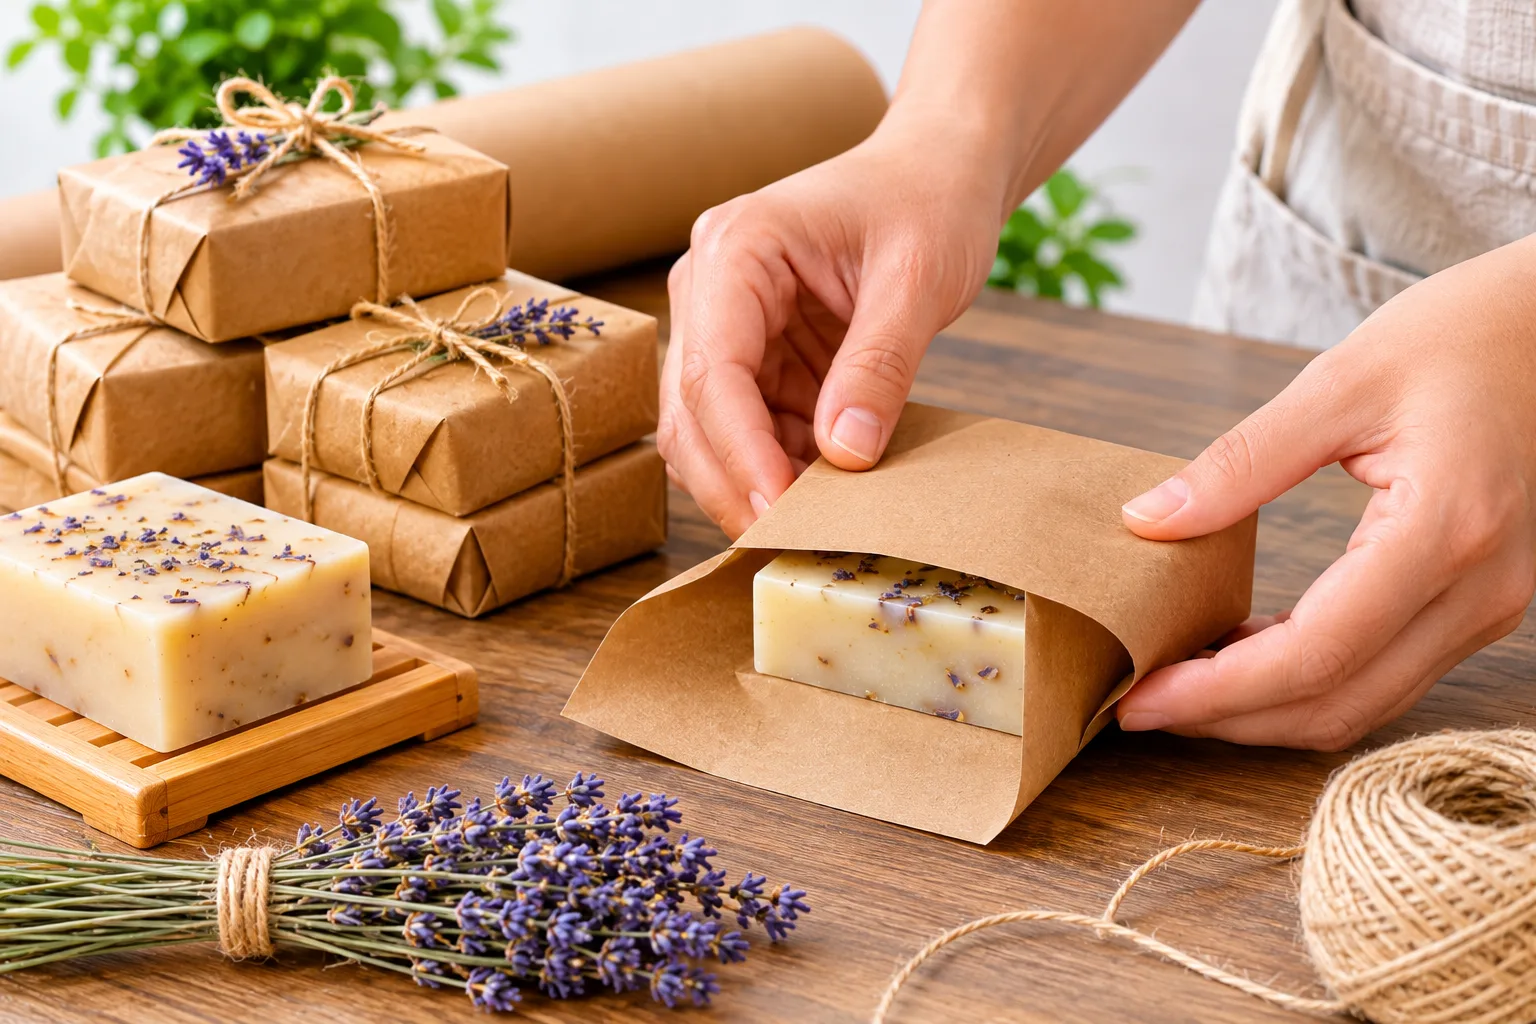
Kraft paper is a popular choice because of its rustic look, easy customization, and low cost for small soap businesses. Kraft paper soap wrapping suits cured bars that need a simple, natural finish. Paper thickness, folds, and adhesive placement all change how neat the final bar looks, and bar shape will affect how you fold.
Measure and Cut Kraft Paper for Each Soap Bar
Estimate the paper size from the dimensions of the bar, and leave extra material for overlapping folds. Wrap the bar loosely in a trial piece first if you are unsure. When packaging several bars, cut every sheet to the same size so the finished products look consistent.
Fold the Paper Around the Soap With Clean Edges
Place the bar in the center of the paper. Fold the longer edges over the soap and secure the overlap, then fold the ends neatly so no corners stand loose. A small paper label or suitable adhesive closure holds everything in place.
Finish the Kraft Wrap With a Decorative Band
A paper belly band keeps the wrapping secure and gives you space for the product name, scent, and brand identity. Simple printing and clear typography create a professional finish. Make sure the band holds firmly without tearing the paper underneath.
Explore Creative Designs for Handmade Soap Bars
Different packaging structures improve presentation and help customers recognize a product. Useful homemade soap packaging ideas include boxes, belly bands, half-boxes, window packaging, and pouches, and each one can be adapted to rectangular, round, decorative, or unusually shaped bars.
Give Simple Soap Bars a Professional Belly Band
A narrow cardstock band covers the middle of a bar and leaves part of the soap visible. Place the branding and product details on the band where they are easy to read. Keep in mind that a band alone offers limited protection against moisture and handling.
Use Half-Box Designs for Better Product Visibility
A half-box covers most of the soap and leaves one side exposed. It balances presentation with access, since customers can see and sometimes smell the bar. This design suits retail displays where visibility matters.
Choose Window Boxes to Showcase Soap Colors and Patterns
A die-cut window lets customers see the soap without opening the box. Position the window to highlight swirls, layers, and decorative details. Keep the visible surface protected so it stays clean.
Adapt Packaging for Round and Unusually Shaped Soaps
Round soaps need different folding and wrapping techniques from rectangular bars. Circular paper cuts, fitted boxes, and well-sized bags all work. Inserts or supports keep irregular shapes from shifting.
Package Homemade Soap Without Using Plastic Wrappers
Soapmakers can create attractive packaging while relying less on conventional plastic. Soap packaging without plastic usually draws on paper, glassine, cardboard, and fabric. These options have clear advantages in appearance and waste reduction, and each has limits. Cutting plastic is not the same as guaranteeing complete moisture protection, so the choice should still match the soap and its storage.
In practice, kraft paper and glassine suit cured bars, paperboard sleeves suit retail display, and fabric pouches suit gifts. The sections below look at each approach.
Wrap Soap Bars With Paper and Glassine Alternatives
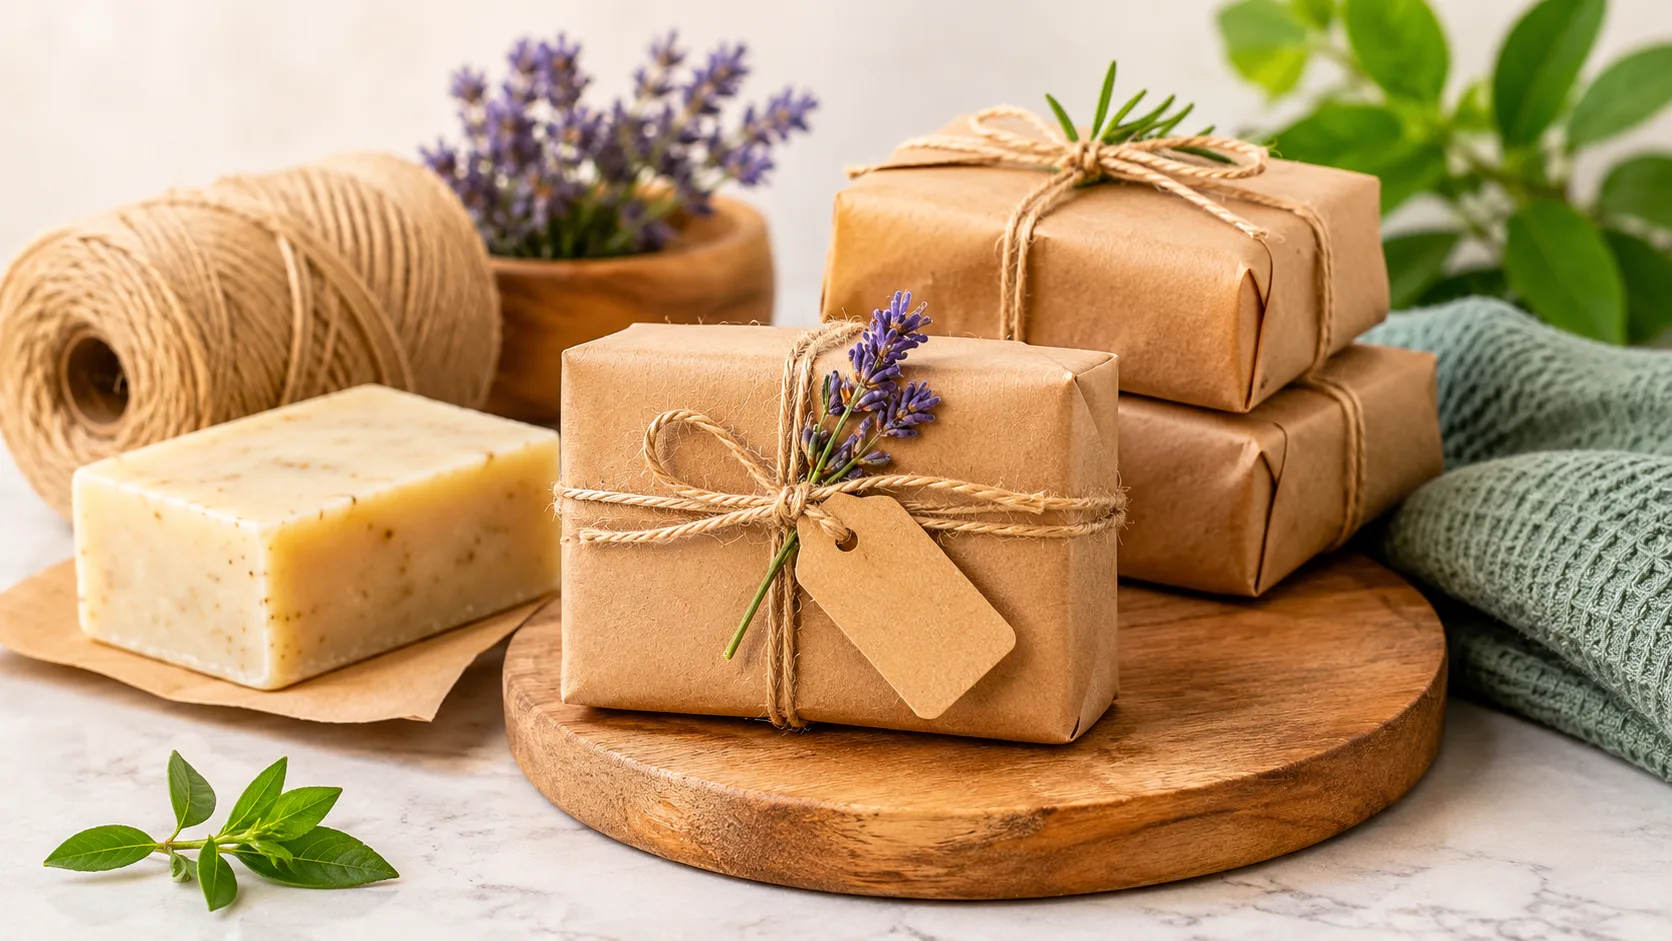
Kraft paper and glassine can both wrap cured soap bars. Kraft has more texture, while glassine has a smoother surface. Select the paper according to the soap's oil content and storage conditions.
Choose Cardboard Sleeves and Paperboard Soap Boxes
Paperboard sleeves and tuck boxes give soap a finished appearance. Printed sleeves, custom sizes, and protective inserts are all possible. Paper-based packaging like this can reduce the need for plastic films.
Use Reusable Fabric Pouches for Gift Presentation
Cotton and jute bags look attractive and can be reused. They may not suit soap that needs a moisture barrier as its only protection, so pair them with an inner wrap when necessary.
Reduce Unnecessary Packaging Without Compromising Protection
A suitable paper wrap combined with a simple outer box can cut excess material. Avoid extra layers, decorative fillers, and oversized packaging. Test the finished packaging under realistic storage conditions before using it for a full batch.
Keep Handmade Soap Protected From Moisture and Dust
Moisture management matters during both curing and storage. Moisture protection for soap depends on the soap type, how far curing has progressed, humidity, and the packaging material. Allowing soap to cure is different from protecting finished soap during storage, and each stage may call for a different approach.
Fragrance retention, dust, and contact with other products also affect how bars should be stored.
Understand How Moisture Affects Different Soap Formulas
Some formulas react more strongly to humidity and sweating. Glycerin-rich melt-and-pour soap tends to attract moisture from the surrounding air. Cold-process soap needs enough time to cure before any restrictive packaging is applied. No single wrapping method suits every soap.
Choose Suitable Wrapping for Long-Term Soap Storage
Breathable paper suits soap that still releases some moisture, while a moisture-resistant covering can help fully cured soap in humid storage areas. Test any packaging with your actual recipe. Airtight wrapping on soap that is not ready can cause problems such as sweating.
Store Packaged Soap in a Cool and Dry Environment
Stable conditions protect packaged bars. Keep them away from direct sunlight, excessive humidity, and heat. Use clean shelves or containers, handle bars in a dry area, and avoid storing them beside strongly scented materials.
Protect Fragrance and Surface Quality During Storage
Individual packaging reduces fragrance transfer between products. It also guards against dust, scratches, and repeated handling. Store different fragrance varieties apart from each other.
Create Attractive Homemade Soap Gift Packaging
Good packaging turns ordinary soap into a thoughtful gift. Soap gift wrapping techniques range from a single paper-wrapped bar to a multi-bar set in a box, using decorative paper, ribbons, tags, reusable pouches, and gift boxes. Thoughtful homemade soap gift packaging also helps the recipient understand what they are receiving.
Wrap Individual Soap Bars for Personal Gifts
Kraft paper, patterned paper, and decorative bands all work for single bars. Secure the folds with paper stickers or a suitable adhesive. A small gift tag can name the scent and mark the occasion.
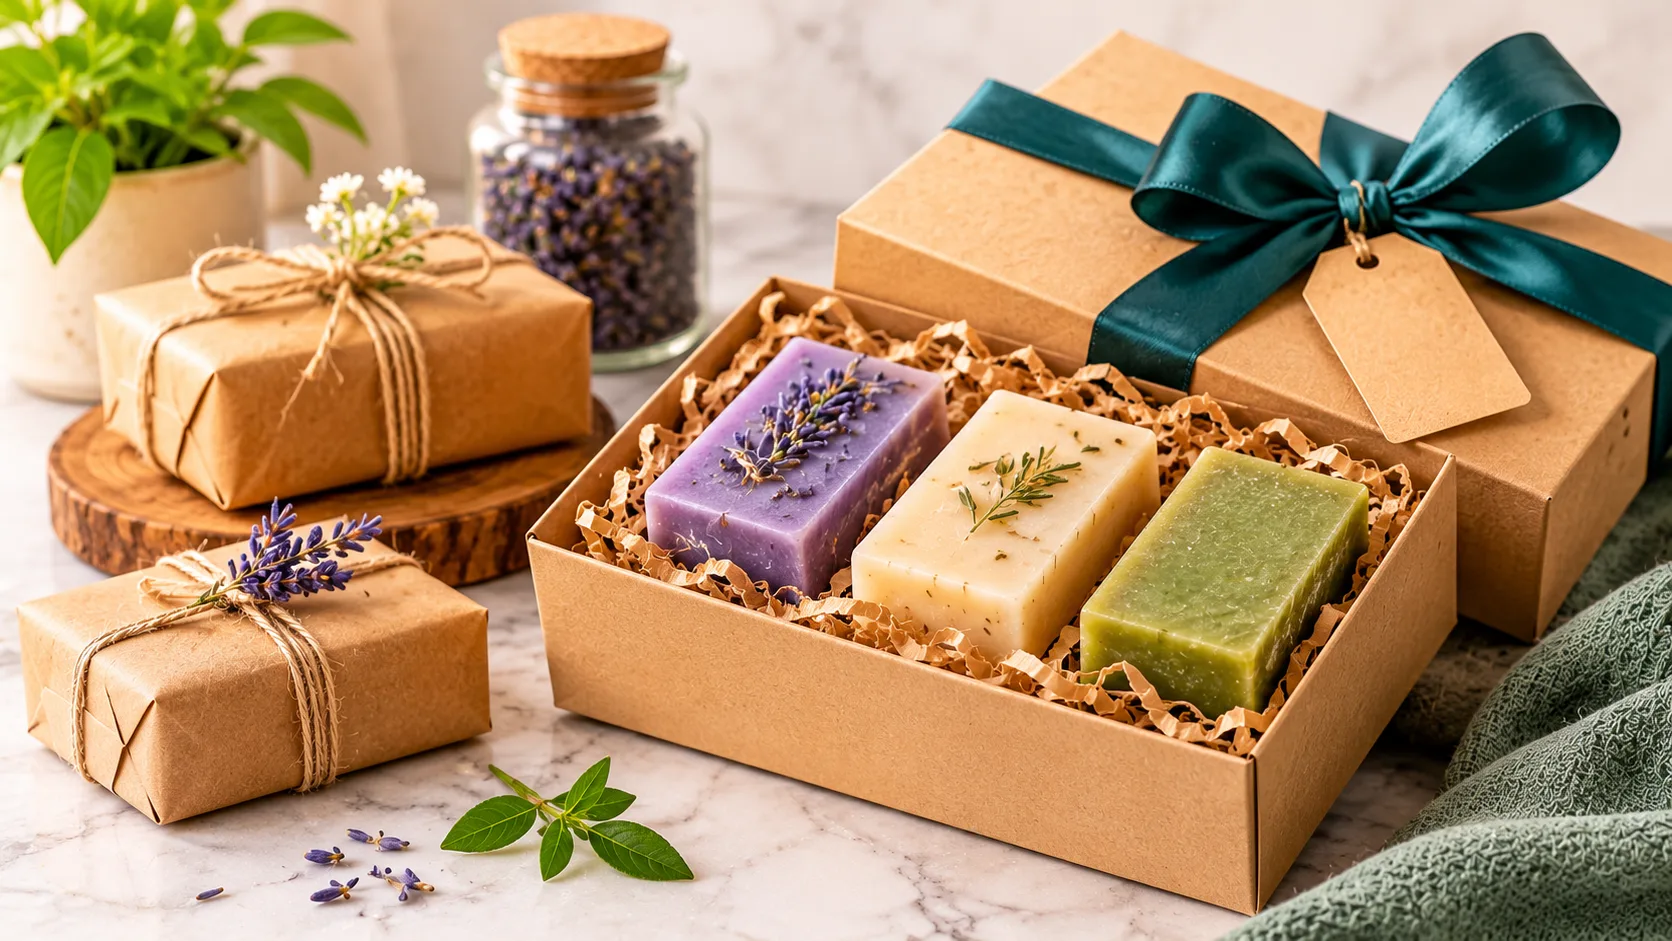
Arrange Multiple Soap Bars Inside Gift Boxes
Choose a box sized for the bars so they do not slide around. Lidded gift boxes keep a set tidy and make a neat presentation. Paper dividers and inserts keep the bars separate, and bars can be arranged by color, fragrance, or collection. Add cushioning where needed to prevent movement.
Add Ribbons, Tags, and Natural Decorative Details
Ribbons, twine, and paper tags enhance the look of a gift. Use dried decorative elements only when they can be secured safely and kept away from the soap's usable surface. Keep the design attractive without piling on decoration.
Design Gift Sets Around Seasonal and Special Occasions
Soap gift sets suit birthdays, holidays, weddings, and thank-you gifts. Match colors and simple printed details to the occasion. Keep the packaging practical enough for storage and transport.
Apply Labels That Make Homemade Soap Easy to Identify
Labels help customers identify a product, communicate useful information, and recognize a brand. Knowing how to label homemade soap starts with the basics: product name, scent description, net weight, business identification, and relevant ingredient information. US labeling obligations depend on whether a product legally qualifies as true soap, a cosmetic, or another regulated product.
A short compliance checklist helps keep labels complete:
Product name and scent shown clearly
Business name and contact details
Net weight stated accurately
Ingredient information where it applies to the product type
Claims that match the product's legal category
Include Clear Product Names and Brand Information
Display the product name and scent where customers will notice them first. Keep branding consistent across varieties, and use readable type and simple layouts so the label is easy to understand.
Display Net Weight and Relevant Product Details
Net contents should be stated accurately, using ounces and grams for solid soap. Remember that bars can lose weight during curing and storage, so the declared weight should account for that. Keep all product information legible.
Understand US Soap and Cosmetic Labeling Differences
Traditional soap that meets the applicable legal definition is treated differently from cosmetic products. Intended claims, ingredients, and cleansing action all affect classification, and products that make cosmetic or therapeutic claims may fall under different requirements. Review current FDA, CPSC, and applicable FTC guidance before selling. This article is informational and not a substitute for regulatory advice.
Choose Labels That Stay Secure on Soap Packaging
Paper stickers, printed belly bands, hang tags, and adhesive labels are all options. Humidity, oils, and textured wrapping can affect adhesion, so test your soap packaging labels on the final material before printing a large run.
Select Sustainable Packaging for Homemade Soap Products
Packaging is more sustainable when its materials are chosen with reuse, recycling, and waste in mind. Recyclable, reusable, compostable, and responsibly sourced packaging are not interchangeable terms, and each depends on the material and on the disposal facilities available locally. Makers looking for sustainable soap packaging can also browse ready-made options built for bath products. Reducing waste and using materials efficiently matter as much as the material itself.
Consider Recyclable Paper and Cardboard Packaging
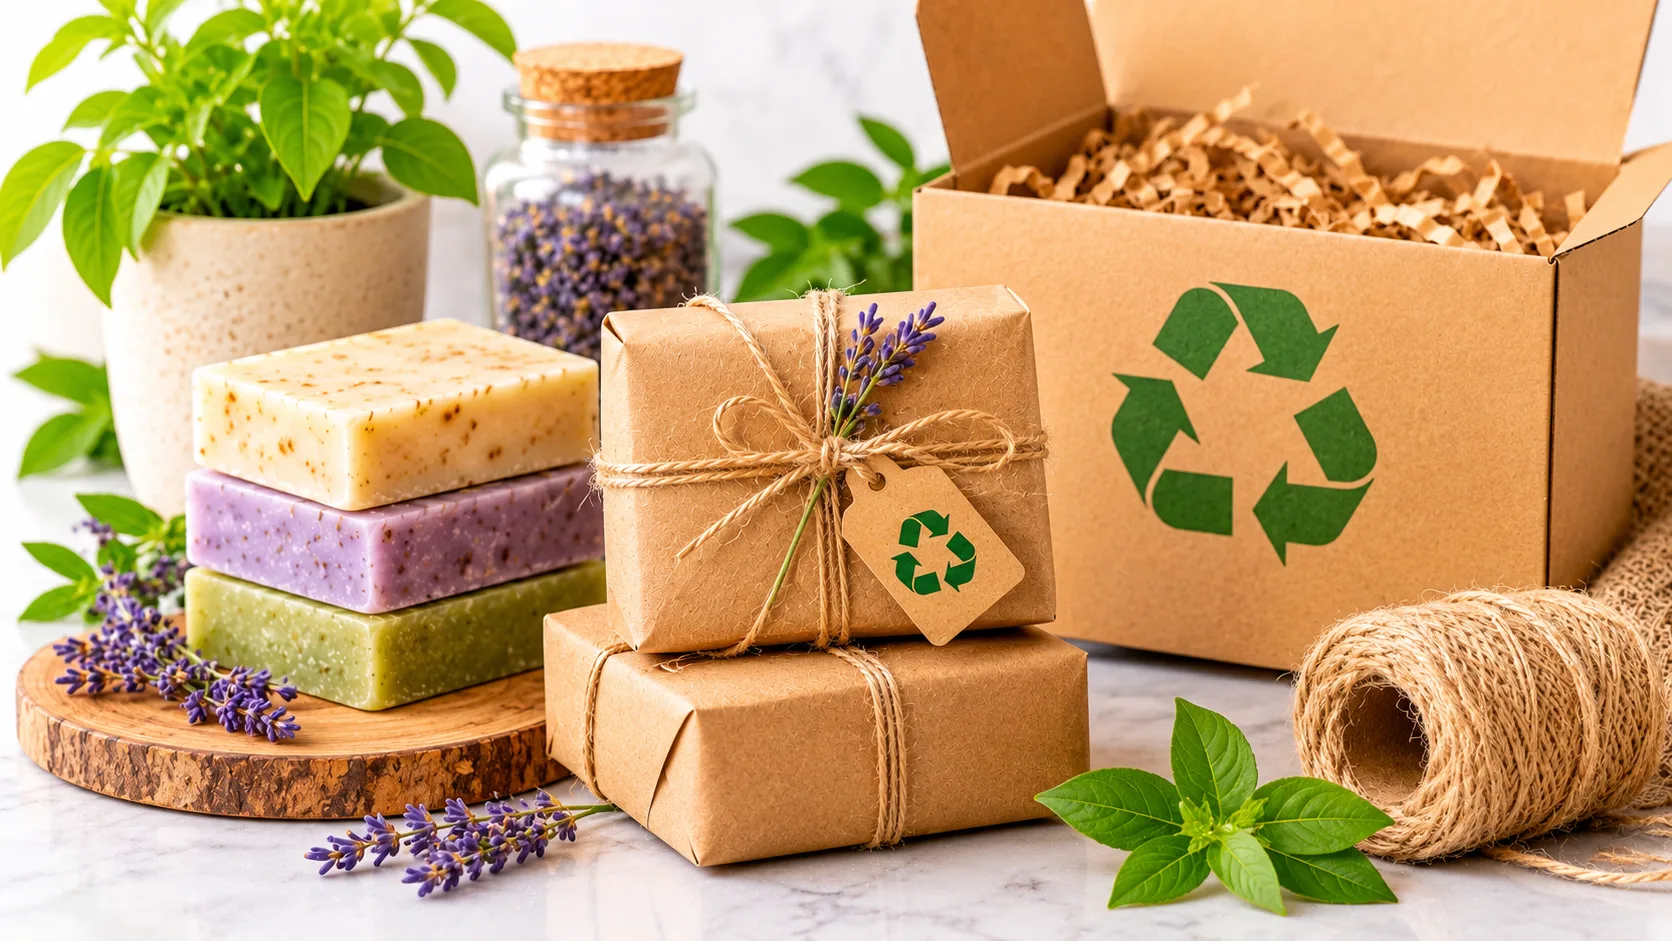
Paperboard, cardboard, and plain paper wrapping can be recycled in many areas. Uncoated or minimally finished materials may be simpler to recycle. Check local recycling requirements and avoid coatings or adhesives that interfere with recycling.
Understand Biodegradable and Compostable Soap Wrappers
Biodegradable and compostable are different. Compostable materials break down under defined composting conditions, while biodegradable is a broader and less specific term. Verify the manufacturer's claims for any biodegradable soap wrappers, and check whether a wrapper needs industrial composting or can break down at home.
Reduce Waste With Reusable and Minimal Packaging
Reusable fabric pouches, refill-style presentation, and minimal paper sleeves all cut waste. Simplify packaging without losing needed protection. Choose materials by how they can realistically be reused or disposed of.
Balance Environmental Goals With Product Protection
Sustainable packaging still has to protect soap from damage, dust, and moisture. Avoid piling on layers. Judge the whole packaging system instead of the outer material alone.
Choose Packaging Based on How You Plan to Sell Soap
Packaging needs change depending on whether soap is made for personal use, markets, retail, or online orders. Basic home packaging differs from professional retail presentation. Cost, production time, consistency, customer experience, and protection all play a part, and small soap businesses should match packaging to production volume.
Table: Packaging Options for Different Soap-Selling Needs
Selling or Usage Situation | Suitable Packaging | Main Consideration |
Personal home storage | Paper wrap or suitable container | Clean, dry storage |
Handmade gifts | Kraft wrap and gift boxes | Appearance and presentation |
Craft market sales | Belly bands or display boxes | Product visibility and identification |
Retail shelves | Custom soap boxes or sleeves | Branding and protection |
Online orders | Individual wrap and outer shipping box | Cushioning and transit protection |
Premium soap collections | Rigid boxes and fitted inserts | Presentation and product security |
Package Soap for Craft Fairs and Local Markets
Simple wrapping with visible product information helps shoppers tell varieties apart. Practical display boxes and samples work well. Protect products from repeated customer handling.
Prepare Homemade Soap for Retail Shelves
Use consistent sizes and branded designs. Packaging should allow clear product identification, and window boxes and paper sleeves can improve presentation on a shelf.
Package Online Orders to Prevent Shipping Damage
Arrange individually wrapped bars inside the shipping carton with cushioning and separation, and fill empty spaces so nothing shifts. Choose the outer packaging for the total shipment rather than for a single bar, and consider sizing custom shipping boxes to your usual order.
Follow a Simple Workflow to Wrap Handmade Soap
A repeatable process saves time and keeps results consistent. These handmade soap wrapping ideas bring the earlier sections together into one sequence for how to wrap handmade soap, from a prepared bar to a labeled, finished product.
Step One: Confirm the Soap Is Ready to Package
Check the curing or hardening requirements for your soap type. Inspect the bar for excess moisture and surface flaws. Confirm that the packaging method suits the formula.
Step Two: Prepare the Wrapping and Label Materials
Gather kraft paper, glassine, cardboard sleeves, labels, scissors, and suitable adhesives. Measure and cut the wrapping material, and prepare labels before starting a bulk run.
Step Three: Wrap Each Bar With Consistent Folds
Center the soap on the chosen material and fold the paper securely around it. Keep the wrap neat without pressing too hard, and close it with an appropriate label or adhesive.
Step Four: Add Branding and Product Information
Place the label where it reads easily. Include the right product identification and other required details, and check that the label is firmly attached.
Step Five: Inspect the Finished Packaging
Look for loose folds, damaged paper, and incomplete closures. Confirm the soap is not exposed unnecessarily, and check label alignment and presentation. Then prepare the bars for storage, display, or shipping.
Avoid Packaging Mistakes That Can Damage Handmade Soap
Most packaging problems come from rushing or choosing materials that do not suit the soap. These are the mistakes worth avoiding, along with simple fixes:
Wrapping cold-process soap before curing is complete. Wait for the full curing period so moisture can leave the bar.
Using non-breathable packaging on soap that still needs to dry. Choose breathable paper until the bar is ready.
Selecting paper that is damaged by oils or humidity. Test the paper with your actual soap first.
Using packaging that does not suit the formula. Match the material to the soap type and storage conditions.
Leaving bars exposed to dust and handling. Use a wrap, band, or box that covers the surface.
Choosing labels that peel away. Test adhesion on the final wrapping material.
Using oversized boxes that let bars move. Size boxes closely or add inserts.
Adding too many decorative materials. Keep decoration simple so storage and disposal stay easy.
Making unsupported environmental claims. State only what you can verify about your materials.
Overlooking labeling requirements before selling. Review the relevant rules for your product type first.
Final Thoughts on Packaging Homemade Soap Safely
The best soap packaging starts with the soap itself. Its curing status should guide every wrapping decision, because even the most attractive wrapper cannot fix a bar that was sealed too early. Choose materials that fit the formula, protect against moisture and dust, and present the soap the way you want it to be seen.
Balance matters. Moisture protection, presentation, and sustainability can all work together when the packaging is kept simple and tested. Before committing to a large batch, try your chosen wrap, label, and box on a few real bars and check them after a few weeks of storage.
If you are a soapmaker or a small business ready to move beyond basic wrapping, exploring suitable custom soap packaging options from Boxy Pack is a natural next step toward a consistent, protected, and professional product.
Frequently Asked Questions About Homemade Soap Packaging
Packaging choices depend on the soap type, its curing status, the material you choose, and how the bar will be used. These answers cover extra questions that the main sections only touched on. Always test any packaging with your own soap before relying on it.
Can homemade soap lose its fragrance if it is stored without wrapping?
Yes. Unwrapped soap is exposed to air, and its scent can fade over time. Wrapping bars individually helps hold fragrance in.
Is parchment paper suitable for storing handmade soap?
It can work for short-term wrapping, but it is not a reliable moisture barrier. For longer storage, consider a more protective option suited to your soap.
Can homemade soap be stored in glass containers?
Fully cured soap can be kept in glass containers, but a tightly sealed container may trap moisture if the soap is not ready. Make sure the bars are cured and dry first.
How should handmade soap be packaged in humid climates?
Use fully cured bars and consider a moisture-resistant wrap or inner covering. Store packaged soap in a cool, dry place, and test your packaging in real conditions.
Can different scented soap bars be packed together?
They can, but strong scents may transfer between bars. Wrap each bar individually, or separate varieties with dividers.
What is the best way to store leftover homemade soap?
Keep leftover bars in a cool, dry spot, wrapped in breathable paper or a suitable box. Keep them away from sunlight, heat, and strongly scented products.
How can small soap businesses reduce packaging costs without lowering quality?
Standardize on a few bar sizes and packaging formats, buy in practical quantities, and keep designs simple. A well-fitted wrap and a clear label often protect and present soap as well as more elaborate options.
Ready to Get Started?
Discover our custom packaging solutions and bring your brand to life with premium boxes.